Supports are the temporary scaffolding your slicer adds under parts of a model that would otherwise hang in mid-air. They work, but they cost filament and time, and you have to remove them afterwards. Where the supports touched, the surface is often left rough. That is why many makers aim to print without supports. This guide explains why a printer needs supports, which rules of thumb help you avoid them, and how to apply them when designing and when printing.
Why does an FDM printer need supports?
An FDM printer builds an object layer by layer. Each new layer has to rest on something: the bed or the layer below. When part of the model sticks out with nothing underneath, that is an overhang. The further it sticks out, the less support the new layer gets. The molten plastic then sags, curls up or droops in strings.
Supports solve this by printing a temporary structure underneath. But with a few design rules, most overhangs can be shaped so they support themselves.
The 45 degree rule
The best-known rule of thumb: an overhang up to about 45 degrees from vertical usually prints without supports. At 45 degrees, each new layer still rests about halfway on the layer below, which is enough to stop it sagging.
It is a rule of thumb, not a hard limit. What your printer can manage depends on:
- Cooling. A good part-cooling fan makes each layer solidify faster, allowing steeper overhangs.
- Material. PLA cools quickly and often handles steeper overhangs than PETG.
- Layer height. Thinner layers step out less per layer, which makes overhangs easier.
- Speed. Slowing down on overhangs helps. Many slicers have a separate setting for it.
Print an overhang test (a model with angles from 30 to 70 degrees) to find where your printer's limit is.
Bridges: horizontal, but supported on both sides
A bridge is a horizontal span between two supports, such as the ceiling of a hole or recess. Because the filament is anchored on both ends, the printer can stretch it across the gap like a taut string. Short bridges work on almost any printer. Longer ones start to sag. A commonly quoted guideline is that bridges up to about 10 mm cause few problems; beyond that it depends heavily on your cooling and settings.
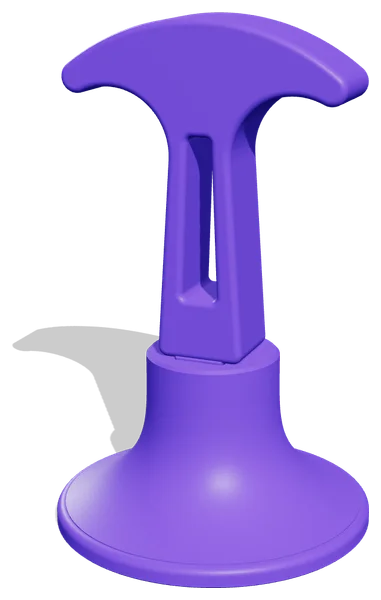
An example from our own designs: the recesses for anti-slip bumpers under the Arc Headphone Stand and the Cable Dock 5 have ceilings that are 10.6 mm bridges. That is short enough to print cleanly.
Design tricks to avoid supports
If you design your own parts, you can often remove overhangs without changing how the model looks.
1. Chamfer the bottom edges instead of rounding them
A rounded edge at the bottom of a model starts out horizontal, which is the hardest part to print. A 45 degree chamfer prints without trouble. Use fillets on top edges and chamfers on bottom edges.
2. Holes in vertical walls: teardrop or pointed tops
A round hole in a vertical wall has a horizontal section at the top. Make the top pointed (a teardrop or "gothic arch") and every part of it is steeper than 45 degrees. The same idea is used in the pointed tunnel under the Controller Stand Duo.
3. Let overhangs slope
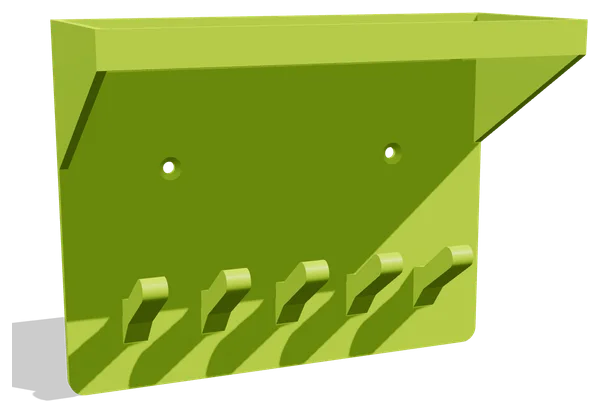
A shelf sticking straight out of a wall needs supports. Let it rise from the wall at an angle, or add an angled brace, and it supports itself. On the Key Hook Rail with Shelf the hooks angle up 38 degrees. Because the rail prints on its back, that becomes an overhang well within the limit.
4. Split the model into parts
Sometimes the simplest answer is to print two parts that each lie flat on the bed and join them afterwards. It costs you a joint, but often gives a stronger part, because you can choose the best print orientation for each piece. The column of the Arc Headphone Stand prints flat and plugs into the base with a tenon (0.2 mm clearance per side).
5. Flip the part
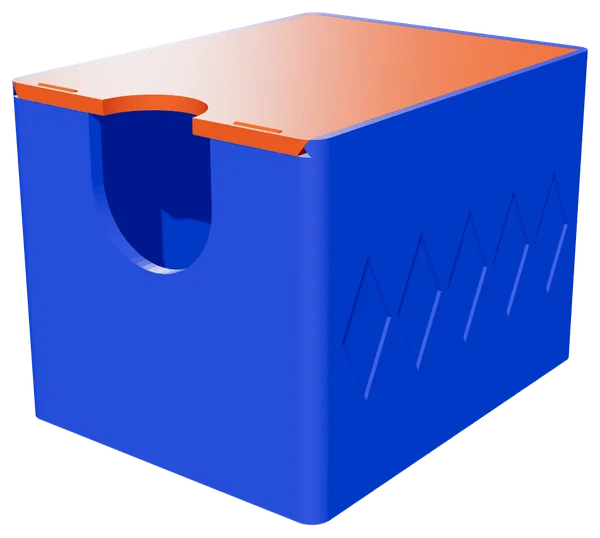
A lid with a raised edge often prints better upside down. The lid of the Deck Box 100 prints upside down; its dovetail edges then overhang at 35 degrees, comfortably within the 45 degree rule.
When printing: orientation is everything
Even if you did not design the model, you have control. The orientation on the bed decides where the overhangs are.
- Put the largest flat face on the bed. It gives good adhesion and usually the fewest overhangs.
- Check the overhang preview. Most slicers colour overhangs red or show where they would add supports. Rotate the model until those areas disappear or shrink.
- Think about strength. Layers bond less strongly to each other than the filament itself. A part breaks most easily between two layers, so orient it so the load does not pull straight between layers. Read more in our guide to infill and walls.
- Use the designer's orientation. In good designs the model is already saved in the best orientation. Do not rotate it without a reason.
Settings that help
| Setting | What it does |
|---|---|
| Overhang cooling at 100% | Makes the layer solidify faster |
| Slower overhang and bridge speed | Less sagging |
| Slightly lower bridge flow (for example 85 to 95%) | Tighter bridge lines, less drooping filament |
| Layer height 0.2 mm or lower | Smaller step per layer |
The exact names differ per slicer (Bambu Studio, PrusaSlicer, OrcaSlicer, Cura), but all four have these settings.
When are supports still the better choice?
Not every model can do without. Figures with outstretched arms, complex mechanical parts or large horizontal surfaces in mid-air really do need supports. Then the trick is to choose smart supports: tree (organic) supports touch the model in fewer places and are easier to remove. A small Z distance between support and model makes them easier to break away.
Designs that print without supports
Every LayerKit design is made to print without supports and is digitally checked per part: a closed model, flat on the bed and fitting a 180 mm print bed. Each product lists the print orientation and recommended settings. A few examples that use the techniques in this guide:
- Arc Headphone Stand: split into two parts, column printed flat.
- Deck Box 100: lid upside down, dovetail at 35 degrees.
- Key Hook Rail with Shelf: printed on its back, hooks at 38 degrees.
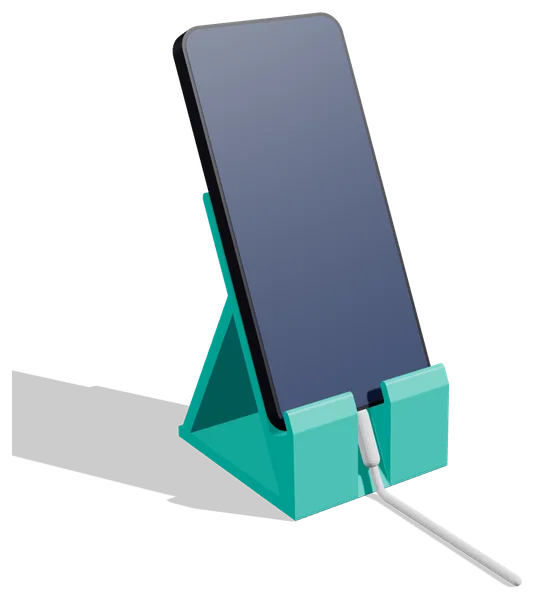
- Phone Stand Angle: backrest 25 degrees from vertical.
Browse all designs or read on about PLA vs PETG.