"How much infill should I use?" is one of the most common questions in 3D printing. The honest answer is that infill often matters less than you think. For the strength of a functional part, the number of walls, the print orientation and the material count at least as much. This guide explains how those factors work together and which settings make a good starting point.
How a print is built
A printed part has three components:
- Walls (also called perimeters or shells): the lines along the outside of each layer.
- Top and bottom layers: the solid layers on the top and bottom.
- Infill: the pattern that fills the inside.
So a print with 20% infill is not a part that is 20% solid. The outside is fully closed; only the inside is partly filled.
Why walls often matter more than infill
When a part bends, the highest stress is on the outside. That is true for a shelf, a hook or a bracket. That is exactly where the walls are. Extra walls therefore often make a part stronger and stiffer than the same amount of extra infill. Screw holes and clamping joints also benefit from more walls, because the screw or pin bites into solid material rather than infill.
Many slicers default to 2 walls. That is enough for decorative objects. For functional parts, 3 to 4 walls is a better starting point.
| Use | Walls | Infill |
|---|---|---|
| Decorative object, vase, figure | 2 | 10 to 15% |
| Light functional print (holder, cup) | 3 | 15 to 20% |
| Loaded parts (hook, bracket, clamp) | 4 or more | 20 to 40% |
| Part that needs weight (stability) | 3 to 4 | 40% or more |
These are starting values, not rules. Beyond roughly 40 to 50% infill, a part gains little extra strength per gram of filament; more walls or a different orientation usually give more.
Infill as weight
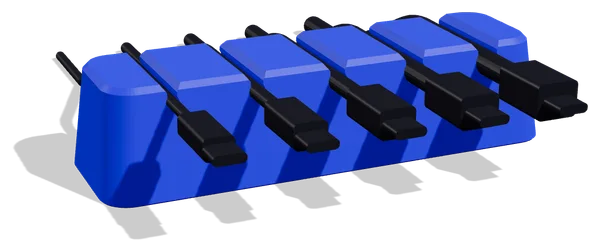
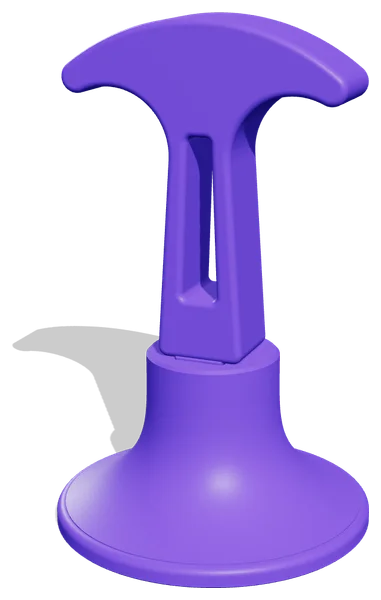
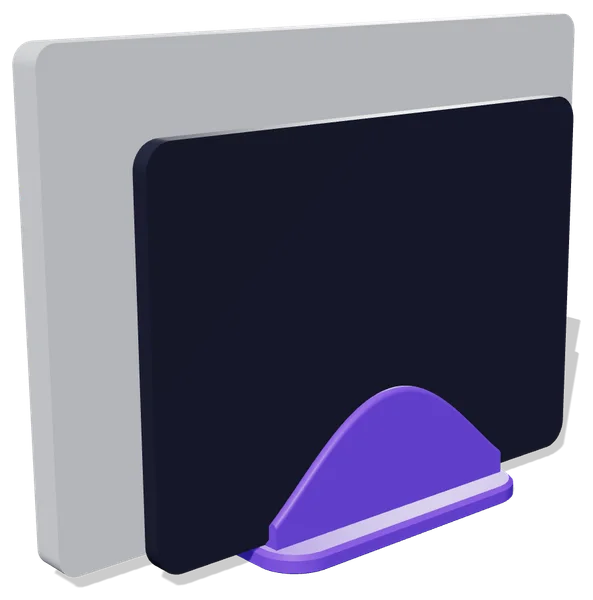
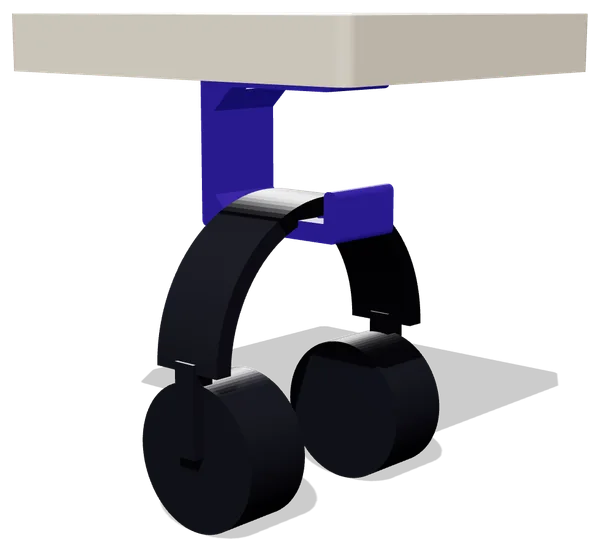
Sometimes infill is not about strength but about weight. A cable holder or headphone stand should not slide or tip over. Higher infill makes it heavier. That is why we recommend 40% infill or more for the Cable Dock 5, and 30 to 40% for the base of the Arc Headphone Stand.
Infill patterns
| Pattern | Characteristics |
|---|---|
| Grid or rectilinear | Fast and simple, good for general prints |
| Cubic | Strong in several directions, little risk of the nozzle hitting the infill |
| Gyroid | Evenly strong in all directions, smooth continuous pattern, good for solid models |
| Honeycomb | Strong, but slower to print |
| Lightning | Only meant to support top layers, adds almost no strength |
For most functional prints, gyroid or cubic is a fine choice. For the Toothbrush Stand, a solid model, 10 to 15% gyroid is enough.
The weak spot: between layers
An FDM print is not equally strong in every direction. Within a layer, the filament is one continuous strand. Between two layers there is only the bond of the new layer to the previous one. As a result, a print breaks most easily along a layer line.
What does that mean in practice?
- Orient the part so the load does not pull between layers. A hook printed upright snaps off along a layer easily. Printed lying down, the load runs along the strands.
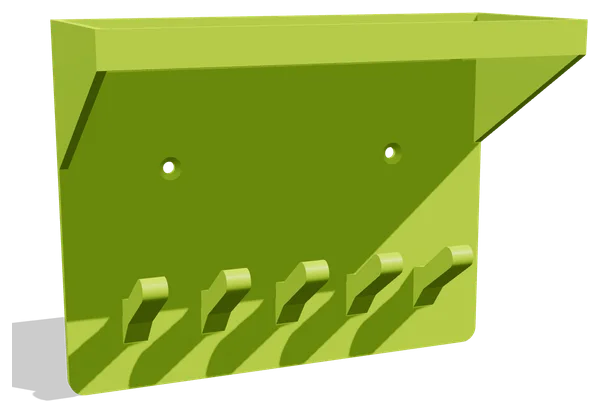
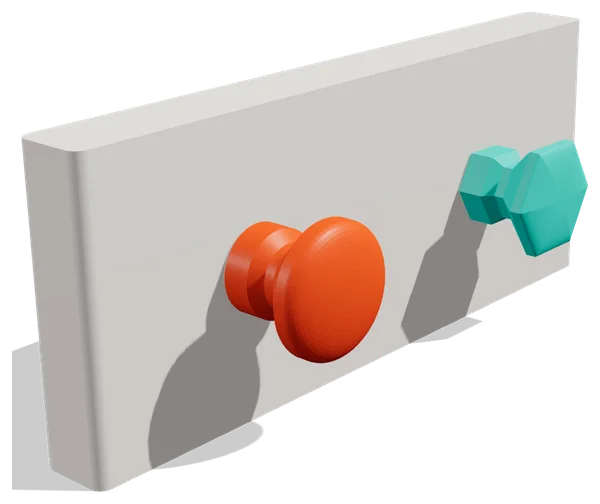
- When in doubt, follow the designer's orientation. The Key Hook Rail with Shelf prints on its back. The hooks and shelf are then loaded across the layers, the strong direction. With 4 walls and 25% infill it is plenty strong for keys and a phone.
- Split a part when there is no other way. The column of the Arc Headphone Stand prints flat, so the layers run along its length, and then plugs into the base.
Other settings that add strength
- Temperature. Printing a little hotter (within the filament's range) improves layer adhesion. Printing too cold is a common cause of weak parts.
- Line width. A slightly wider line (for example 0.45 to 0.5 mm with a 0.4 mm nozzle) gives thicker walls and often better bonding.
- Top and bottom layers. At least 4 to 5 layers give a dense, stiff skin. For watertight prints this matters even more.
- Material. PETG is tougher than PLA and fails less suddenly. Read more in our guide PLA vs PETG.
- Cooling. Lots of cooling gives nice overhangs but can reduce layer adhesion. For strong parts in PETG, cooling is usually set lower than for PLA.
Walls and nozzle: count in whole lines
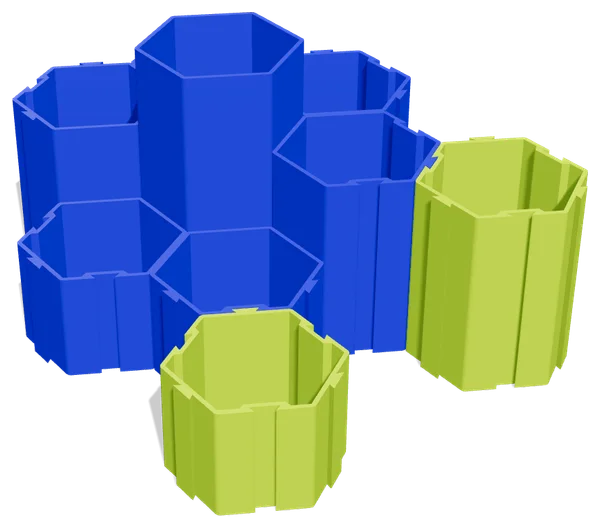
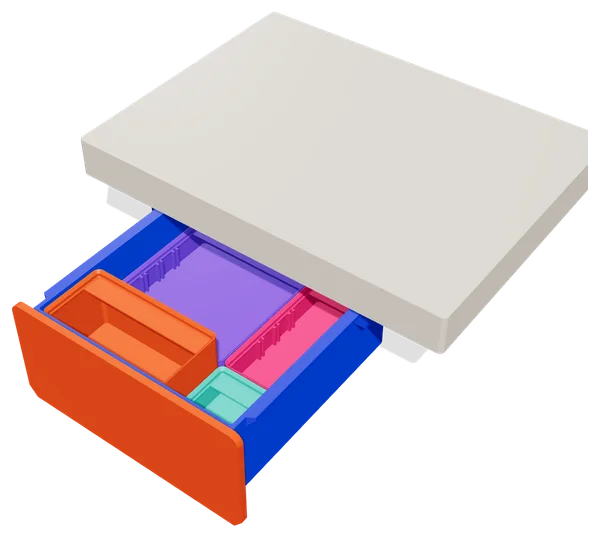
A smart designer makes thin walls a multiple of the line width. The cups of the Honeycomb Desk Set have a 1.6 mm wall. With a 0.4 mm nozzle, that is exactly 4 lines. Set your slicer to 4 walls and the wall is fully solid, with no gaps or thin infill in between. That is why that design lists 4 walls.
Checklist for a strong functional print
- Orient the part so the load runs along the layers, not between them.
- Use 3 to 4 walls, or more around screw holes and clamps.
- Choose 15 to 25% infill in gyroid or cubic; more if the part needs weight.
- Use at least 4 to 5 top and bottom layers.
- Print at the warm end of your filament's range.
- Choose PETG for parts that bend or flex.
Settings per design
Every LayerKit design lists the recommended layer height, number of walls, infill and material, plus a tip from the designer. Every part is digitally checked for printability and prints without supports. Have a look at the desk accessories or the useful prints for the home, or read on about printing without supports.