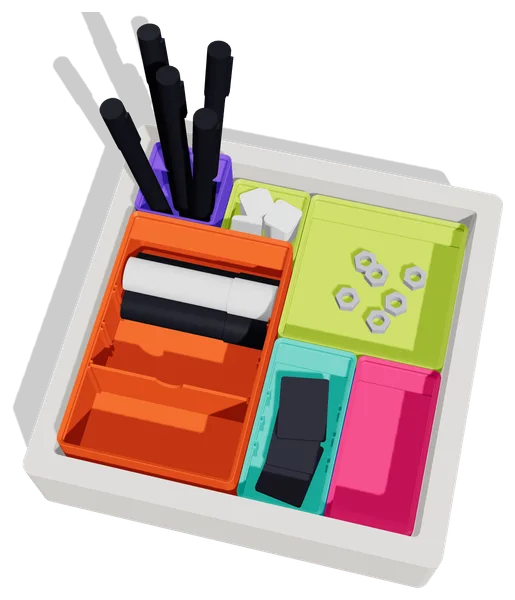
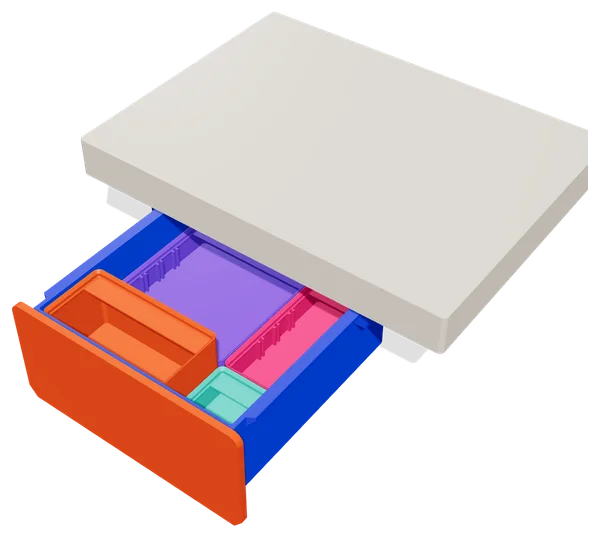
Anyone with a 3D printer and a messy drawer runs into Gridfinity sooner or later. It is one of the most popular systems for organising drawers, toolboxes and desks. This guide explains what Gridfinity is, how to start, how to measure your drawer and how to make sure everything fits.
What is Gridfinity?
Gridfinity is an open, modular storage system created by maker Zack Freedman. The idea is simple:
- A baseplate sits in the drawer and divides the floor into cells of 42 × 42 mm.
- Bins have a foot that drops exactly into those cells. They do not slide around, but you can lift them straight out.
- Bins are a multiple of 42 mm wide and a multiple of 7 mm tall (a height unit, often called "u").
- A stacking lip on top lets you stack bins.
Because the dimensions are fixed, parts from different designers fit together. You can put one maker's bins on another maker's baseplate. That is what makes the system so big: there are thousands of designs for tools, electronics, kitchen items and hobby supplies.
The license
The Gridfinity standard is released under the MIT license (Copyright Zachary Freedman and Voidstar Lab LLC). That license allows use, modification and commercial use, as long as the copyright and license text are included. That is why designers can make and sell their own Gridfinity-compatible parts. Note, though: the files of a specific design carry that designer's license, which can differ from MIT.
Step 1: measure your drawer
Measure the inside of your drawer floor in millimetres: width, depth and height up to the top.
Divide width and depth by 42 and round down. That is the number of cells.
| Drawer inside | Calculation | Cells | Baseplate |
|---|---|---|---|
| 400 × 300 mm | 400 / 42 = 9.5 and 300 / 42 = 7.1 | 9 × 7 | 378 × 294 mm |
| 350 × 450 mm | 8.3 and 10.7 | 8 × 10 | 336 × 420 mm |
| 180 × 180 mm | 4.3 and 4.3 | 4 × 4 | 168 × 168 mm |
You usually have a few centimetres left over. That is fine: push the baseplates into one corner, or fill the edge with a narrow spacer. The height matters more: a 6-unit bin with stacking lip is about 46 mm tall, a 3-unit bin about 25 mm. Choose a height that still lets the drawer close.
Step 2: print the baseplates
Fill a large drawer with several baseplates side by side. Most home printers have a 180 to 256 mm bed, so a 4 × 4 plate (168 × 168 mm) fits almost anywhere. Push them together in the drawer; they do not need to be joined.
There are two kinds:
- Full baseplate: sturdy and flat, but uses more filament.
- Light baseplate: just the grid, with open cells. Faster and cheaper, and it curls less.
Step 3: print a few bins
Start with the sizes you need most. A good start for a desk drawer:
- 1 × 1 for small things: erasers, USB sticks, SD cards.
- 1 × 2 for pens and pencils.
- 2 × 2 for tape, cables or scissors.
- 2 × 3 for larger items.
- Scoop bins with a rounded front for screws, beads and other small parts you want to scoop out.
Dividers turn one bin into several compartments, so you do not need a separate bin for every little thing.
Step 4: the right print settings
Gridfinity works with small clearances (a bin is 41.5 mm wide in a 42 mm cell). A few settings make the difference:
| Setting | Advice |
|---|---|
| Layer height | 0.2 mm |
| Walls | 3 |
| Infill | 15% is enough |
| First layer | Not over-squished (avoid elephant's foot) |
| Adhesion | Brim on a large PLA baseplate |
| Material | PLA or PETG |
Elephant's foot is the main pitfall. If the first layer is squashed too flat, the bottom of a bin becomes slightly wider and it will not drop fully into the baseplate. Raise your first layer slightly, or use your slicer's elephant foot compensation.
A large PLA baseplate can curl at the corners. A brim or the light variant helps.
Step 5: expand whenever you like
The beauty of Gridfinity is that you never have to be finished. Print another bin when you have something new to store, or move the whole layout to another drawer. There are also Gridfinity parts for specific items, such as bits, batteries or scissors.
Combine it with other storage: an under-desk drawer with an inside of exactly 3 × 3 cells gives you extra space without cluttering your desk.
Frequently asked questions
Do I need magnets? No. Some designs have holes for small magnets in the base so bins sit extra firmly. In a drawer, the foot in the baseplate is usually enough.
Do bins from different makers really fit together? If both designs follow the specification, yes. Small differences in printers and filament can make the fit slightly tighter or looser.
Can I design my own Gridfinity parts? Yes, the standard is open and covered by the MIT license. Use the dimensional specification and include the license text when you distribute.
Getting started with LayerKit
The Gridfinity Starter Kit is compatible with Gridfinity and includes baseplates (4x4, 4x4 light and 2x2), eight bins in 1x1, 1x2, 2x2 and 2x3 in two heights, two scoop bins and dividers. Everything is modelled from scratch to the open specification, prints without supports and is digitally checked for printability. LayerKit is not an official Gridfinity partner. The Under-Desk Drawer has an inside of 3 × 3 cells, so the same bins fit.
Read more about infill and walls for strong prints or browse all organizers.